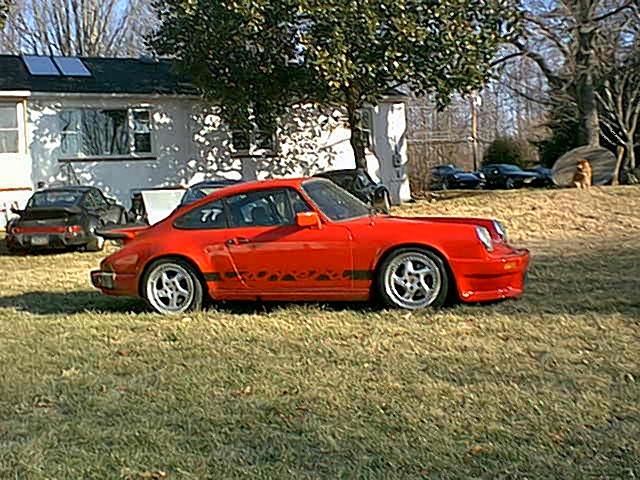
Here we take 1976 Carrera 3.0 suspension which has
never been apart to a full blown race suspension, complete with hollow
sway bars and torsion bars, and polyurathane bushings throughout.
Related Pages:
What I didn't get a shot of was removing the rear suspension.
NASTY. After a sledge hammer, then an impact hammer, then a torch
didn't work, I cut out the
old torsion bars with a grinding wheel. EVERYTHING was rusty.
Clean all the rust, scale, gunk, disintegrated rubber out. Really
nasty.
Clean the area with Carb Cleaner
Tap in the bushing, after sizing it. NOTE: The busings are
designed oversize. The fit should be a firm fit with the spring plate,
so
you need to remove some off the outside with a belt sander.
Install the spring plate and make sure it rotates easily. use a fine die grinder ot remove polyurethane until it's a perfect fit.

Test fit the springplate and make sure i rotates freely.
Only after the spring plate is installed and the bushing ground to the proper size is it time to install the torsion bar. It should be coated with grease to prevent rust.

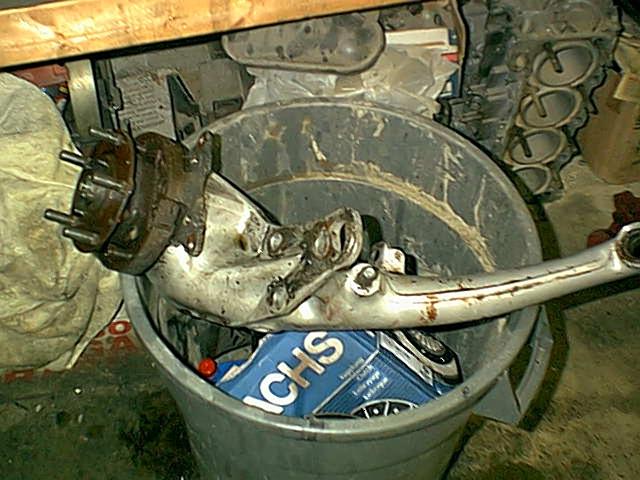
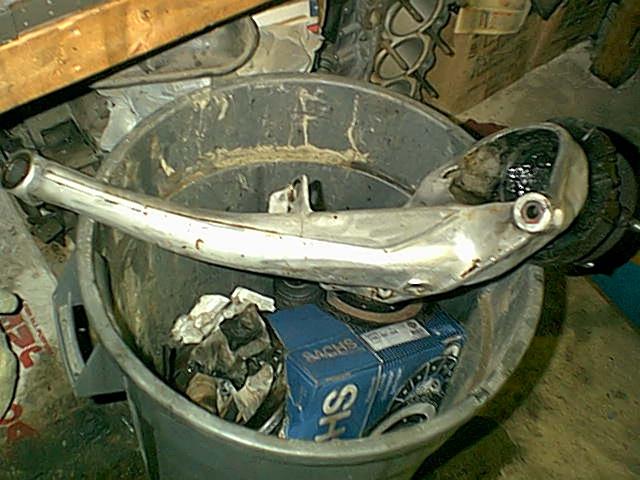
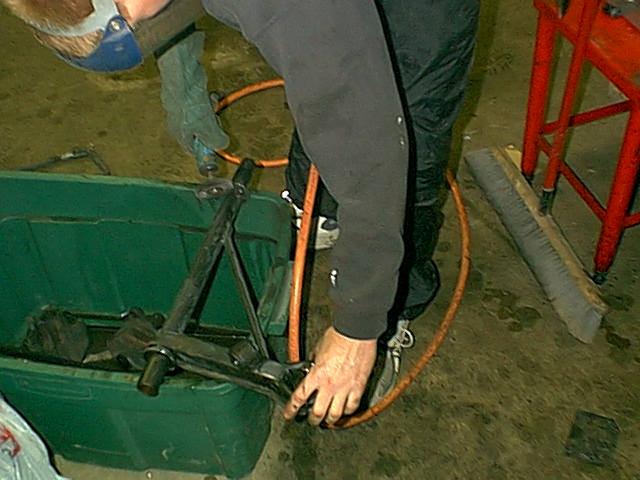
NASTY!
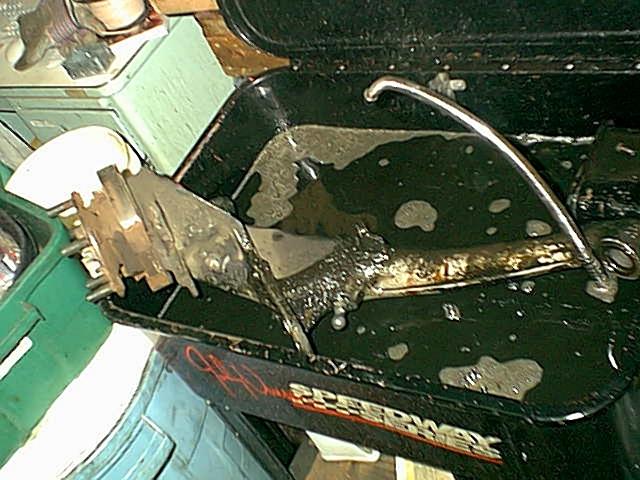
Time to spend a few hours cleaning these up. First to the parts washer. DO NOT submerge the wheel bearing or emergency brake! Get the major gunk off.
Continue the cleaning with a die grinder with wire brush installed.
Use a wire wheel to polish the surface.
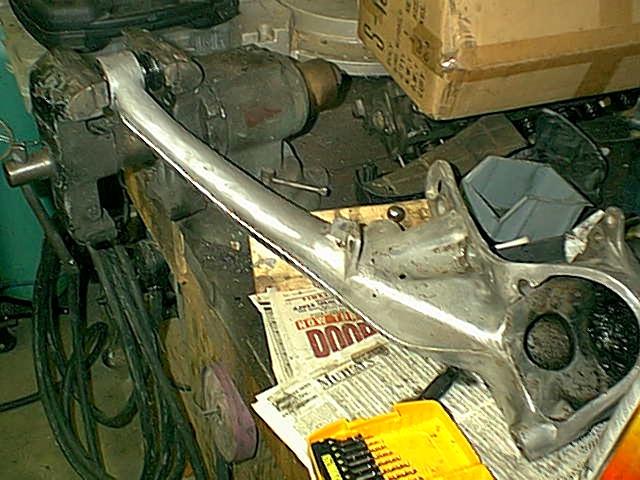
Now that's more like it. ALl the undercoating and grease as been
removed.
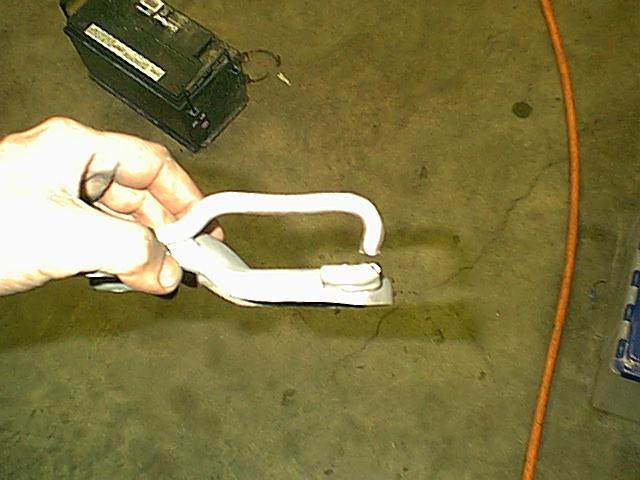
Installing banana bushings with a vice. USe lots of Anit-seize inside and out.
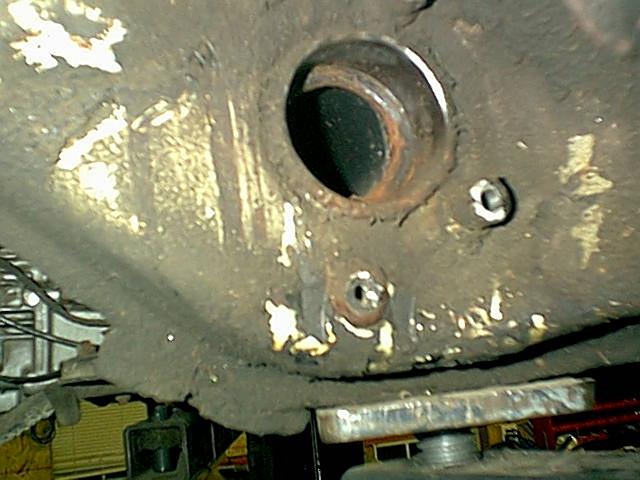
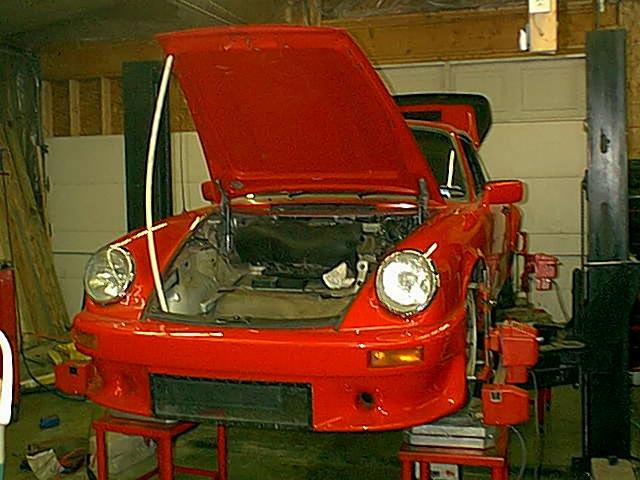
First remove the gas tank. NOT FUN. We just pulled it forward about 6" but still had to completely remove the battery, all hoses, filler, and gas tank sender wiring..
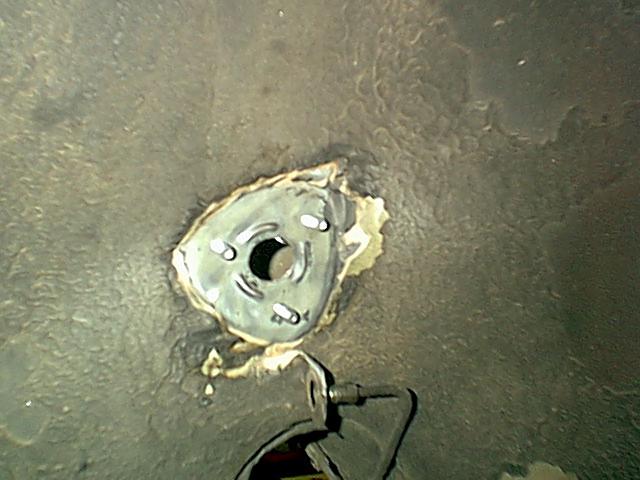
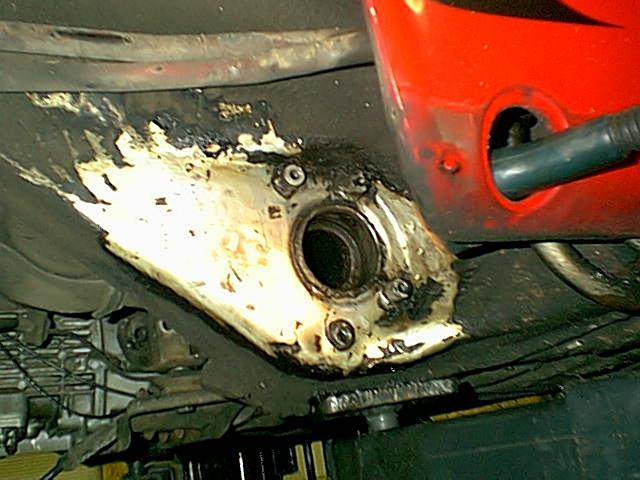
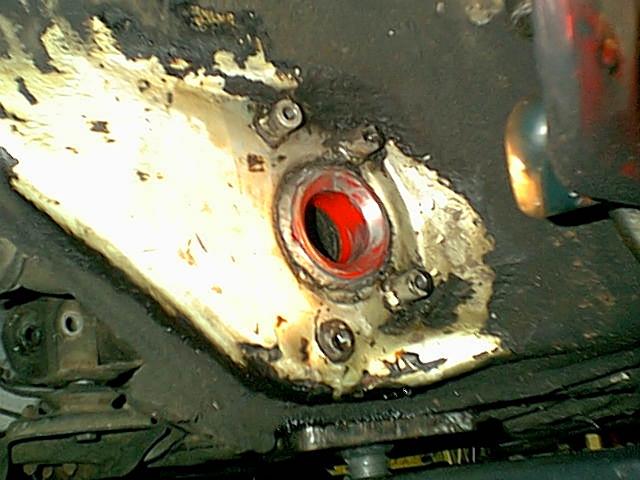
Now clean off the sway bar mount area. Convenient the factory did not change this sheet metal pressing, so the three markers are present. Unlike earlier (pre 74) cars, captive nuts are not present so you need to drill out the three holes for bolts, thread them, screw them in from the inside, then drill a 1" center hole to accept the swaybar.
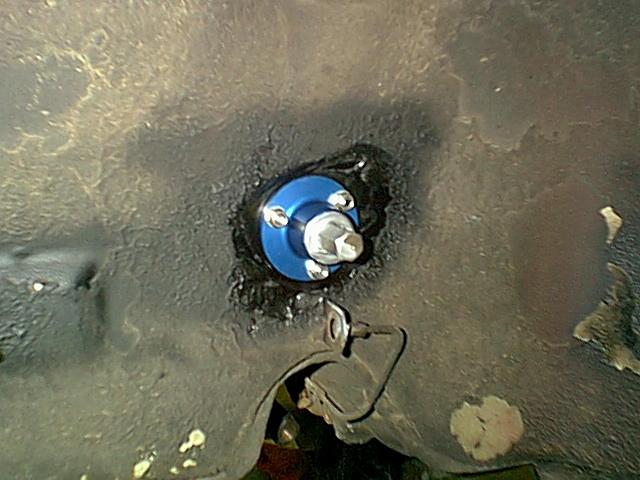
Do this on both sides and install the bar. Make sure it doesn't bind.
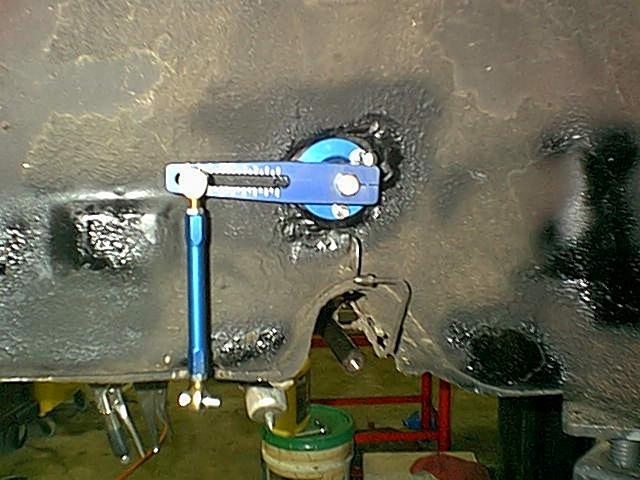
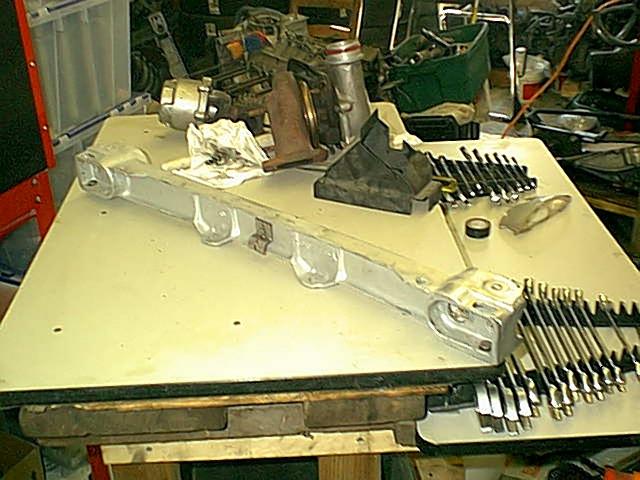
Here' the bar with drop links ready for the front A-Arms.
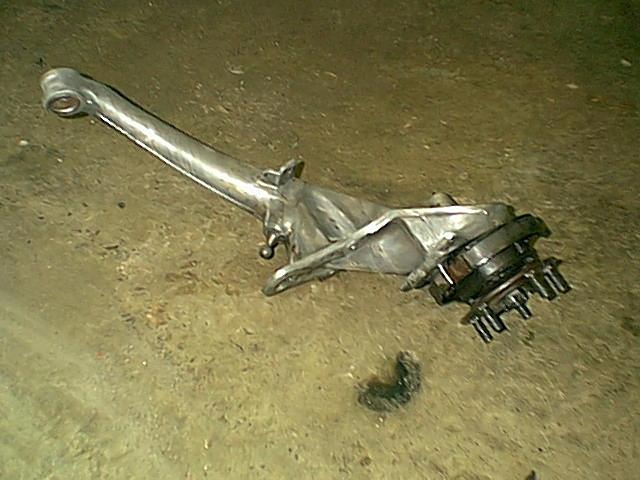
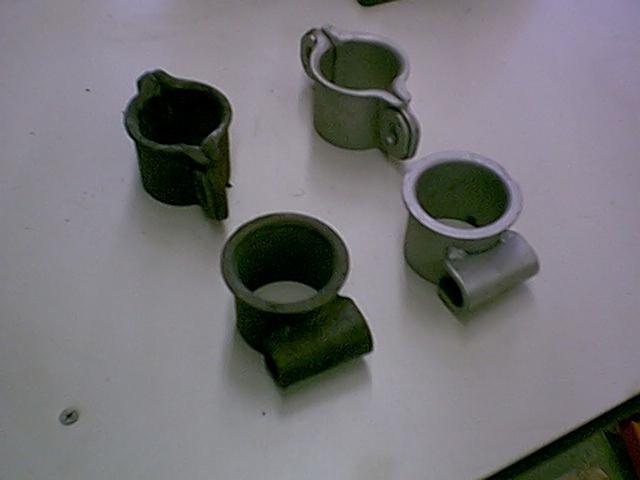
As shown above the entire front suspension was removed and dissasembled. The bushing housings had to be burn off with a torch. BOY does burning rubber smoke!
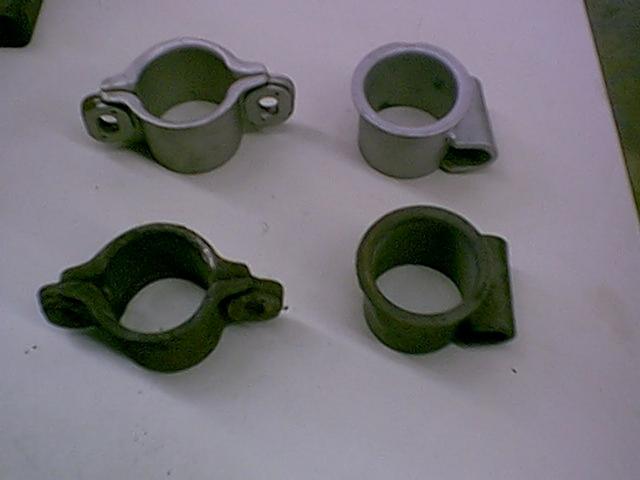
Before and after bead blasting front bushing housings
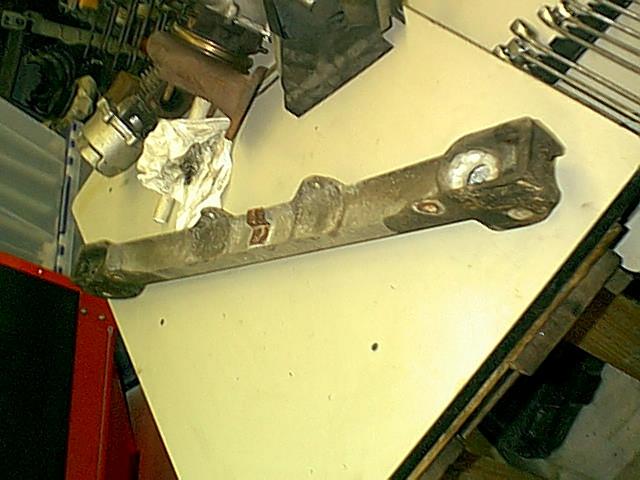
We removed all the undercoating, rust, and tired paint from the A-Arms.
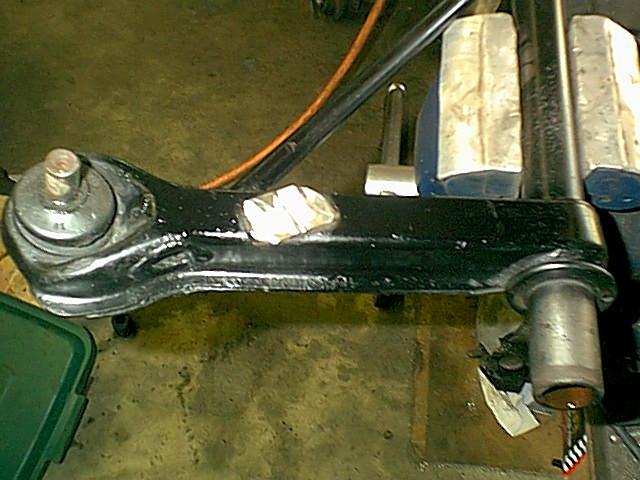
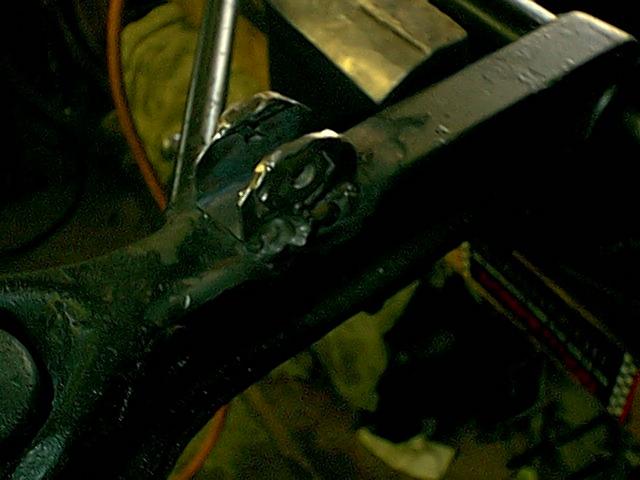
Next, cut off the factory sway bar attachment point.
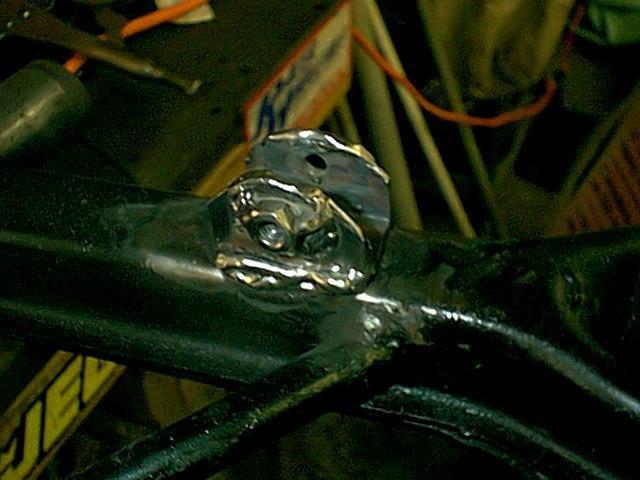
Fabricate a new front sway bar attachment point. What you can't
see here is that an extra fender washer was welded to inside and outside,
and a captive nut was also welded on for a stronger attachment. This
started out as 1"x1" box section.
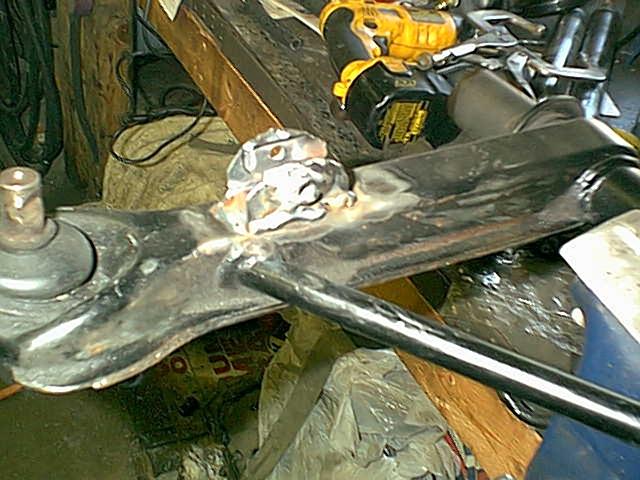
Raw welds
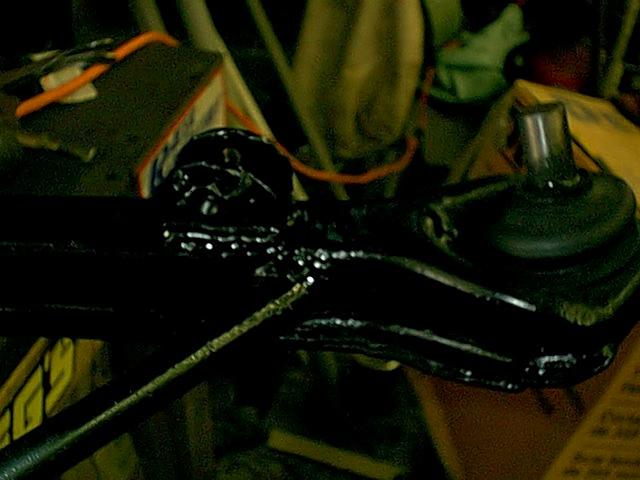
Then cleaned up and painted
The front cross member was a mess - all corroded so it was removed
First cleaned in the parts washer, then bead blasted. Very pretty!

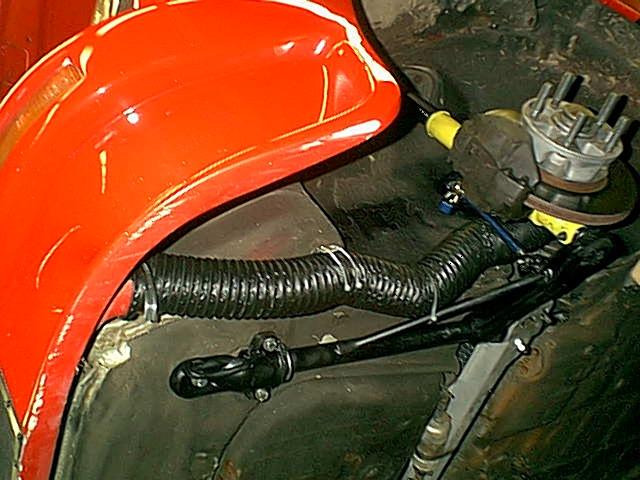
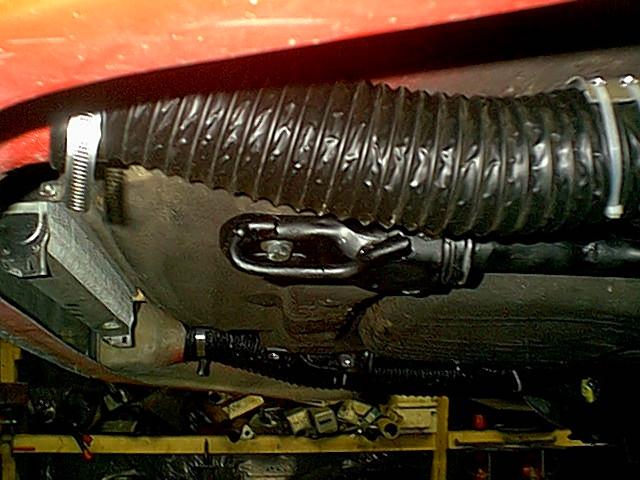
YUK! How scary are those fuel lines? Cut through the crimp bands (carefully!) with a Dremel tool and then replaced the hose. Look at that "T" fitting with a plastic coupler and a bolt through the end.
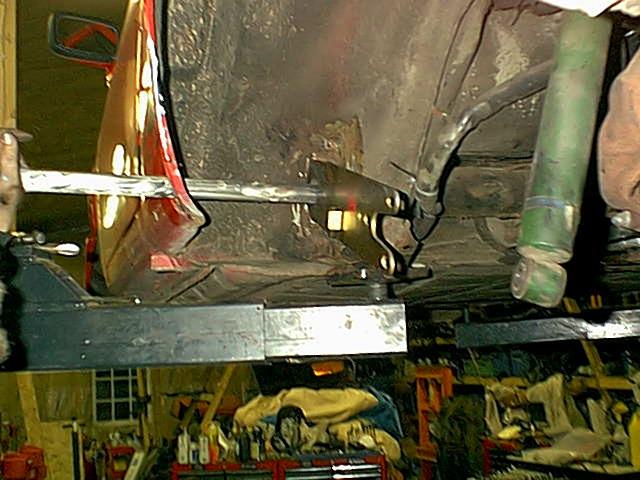
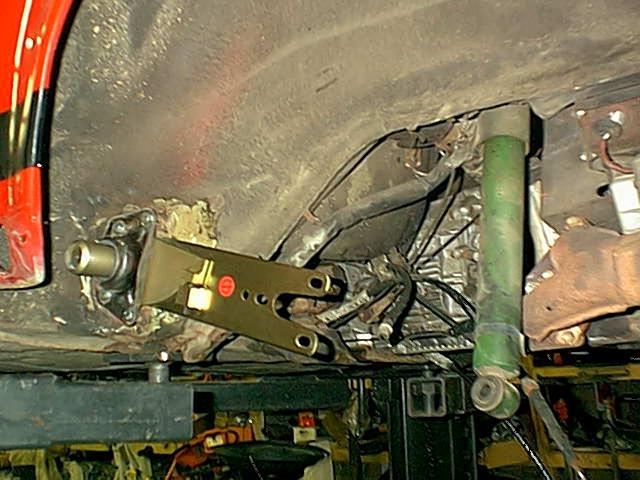
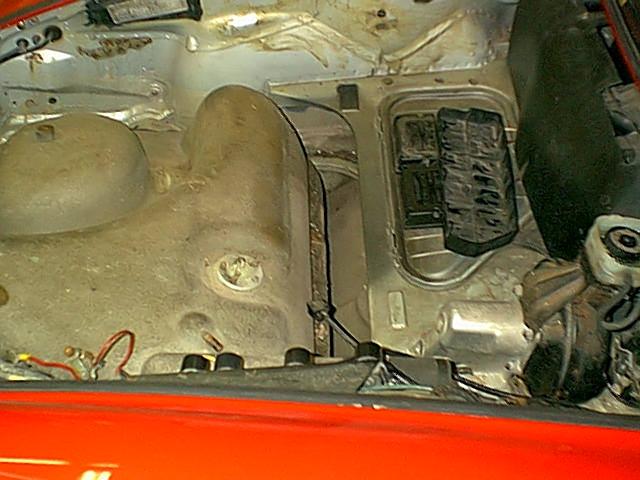
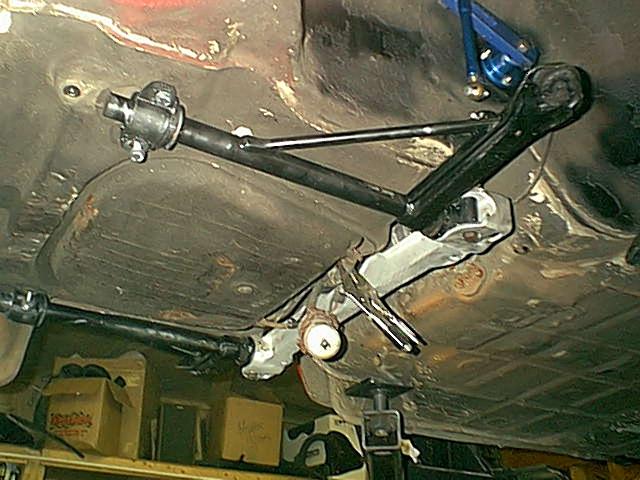
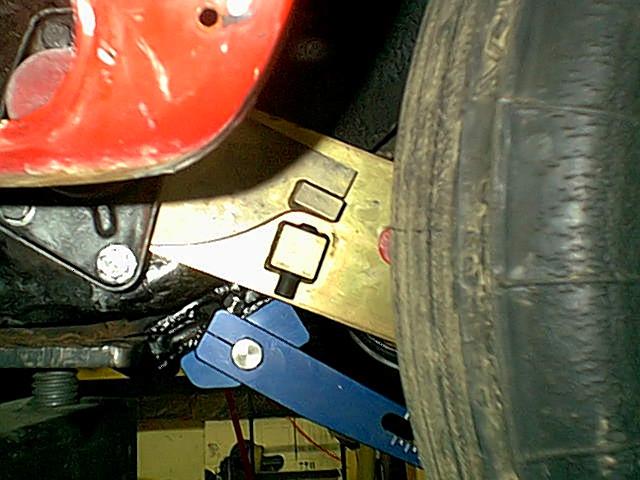
You can see where the tank was lifted out so the through-the-body sway
bar could be mounted. Inside the cavity you can see the TRG hollow sway
bar.
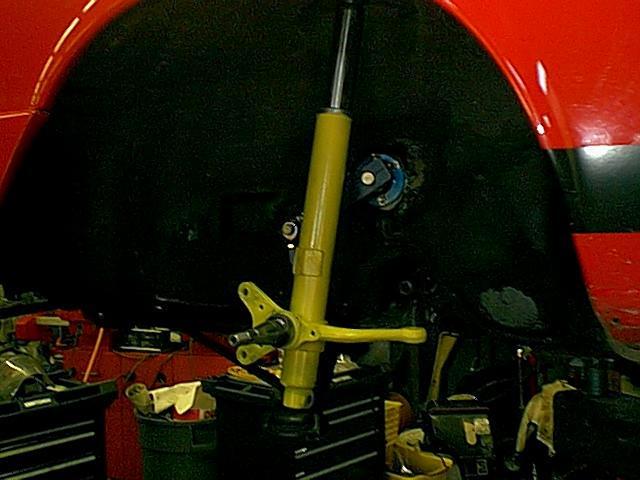
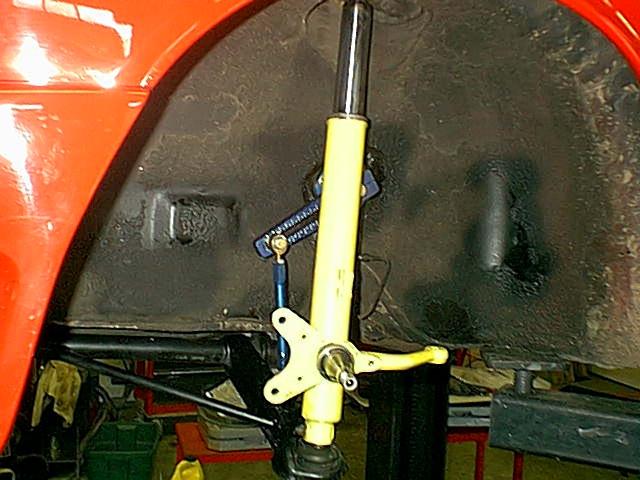
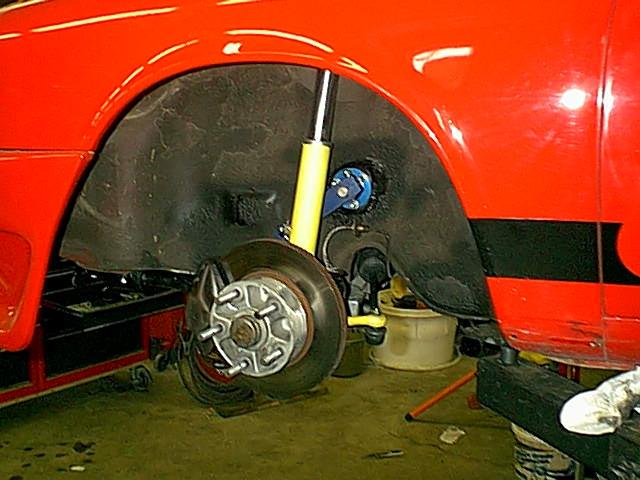
Here's the new front suspension with new bushings before the struts
in for a trial fit.
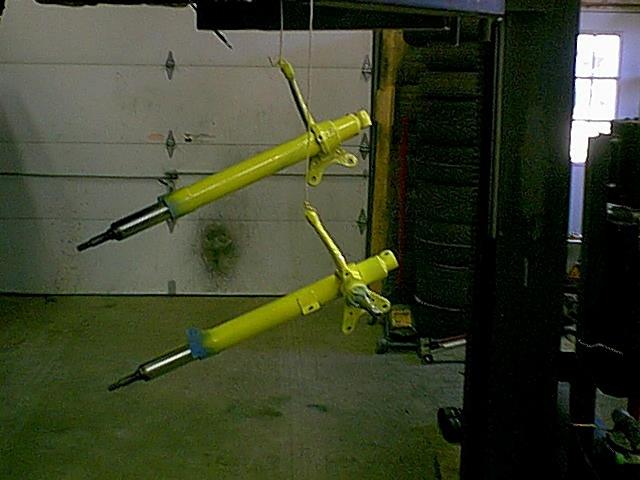
The front struts were stripped and repainted.
Now the newly stripped and repainted struts. Bilstein Sport yellow.
Nearly complete front suspension
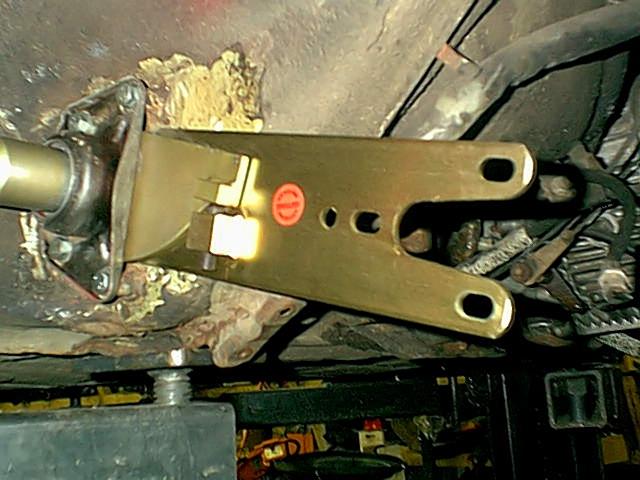
Since we were using rather massive (23.9mm effective) hollow rear sway bars I reinforced the mounts with 1/8" steel angle iron, drilled through, and replaced the captive nuts. It was perimeter welded on he outside down the the chassis and welded in three spots in the inside. This is going NOWHERE.
Here's the passenger side
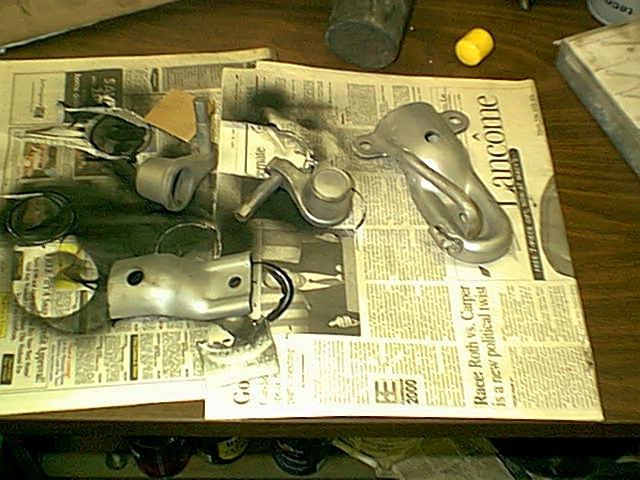
Here I bead blasted all the front suspension adjusters, guards and tie down.
The front tie-down was broken through so that was bent back and welded
and painted black. Everything painted black was done in satin then baked
in the oven or with the torpedo heater.
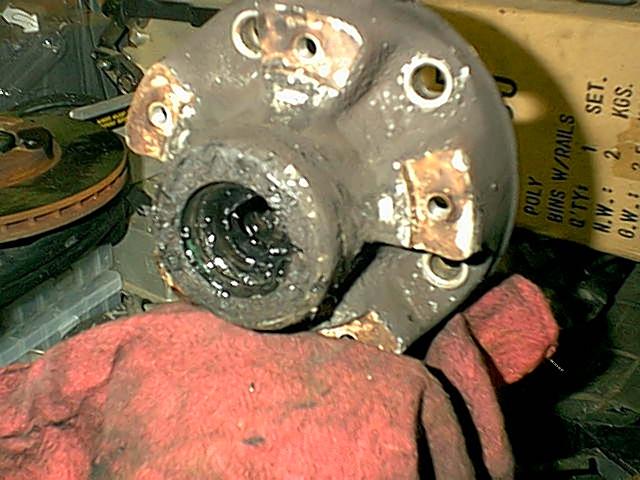
Now that's nasty. Front hub. Caked on filth and a leaky seal. We're upgrading the studs so I knocked them all out.
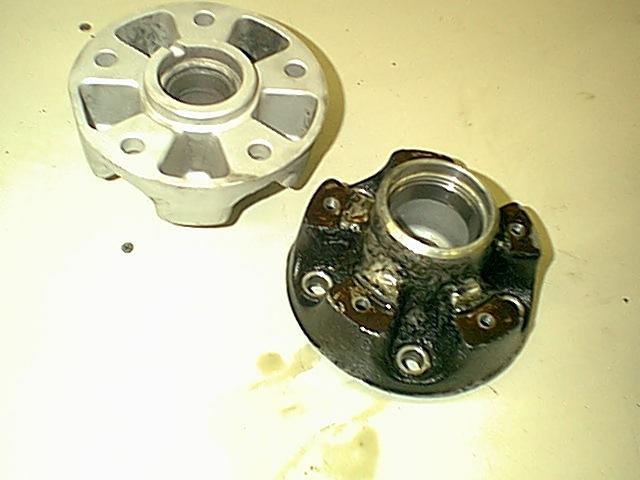
Here's a before and after. Notice the outer bearing race is gray
in color - burned. Time to replace those bearings. Out of four bearings,
only the inner (shown right - lower - inside) was nice and shiny.
We replaced them and packed with Castrol 100% Synthetic wheel bearing/CV
joint grease.
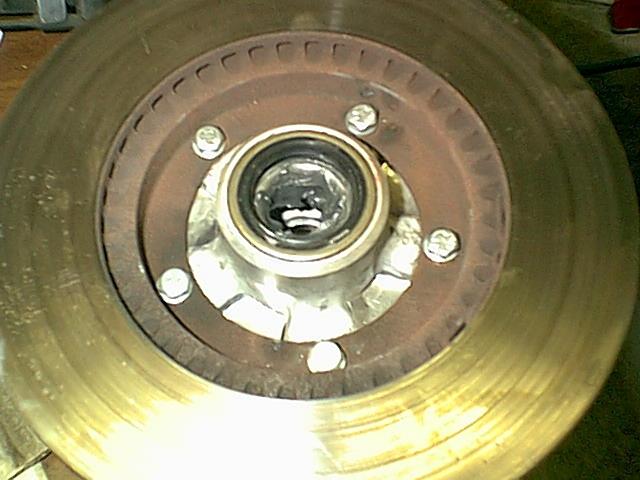
Here's the hub with the brake-blockoff shields and the new wheel bearings and seals. We fabricate the shield to go between the rotor and the hub to make sure any air entering the cool brake ducts is forced through the rotor. Otherwise it exits to the outside of the hub.

Note the shiny block off between the rotor and hub. Also - long studs were installed so offsets can be optimized.
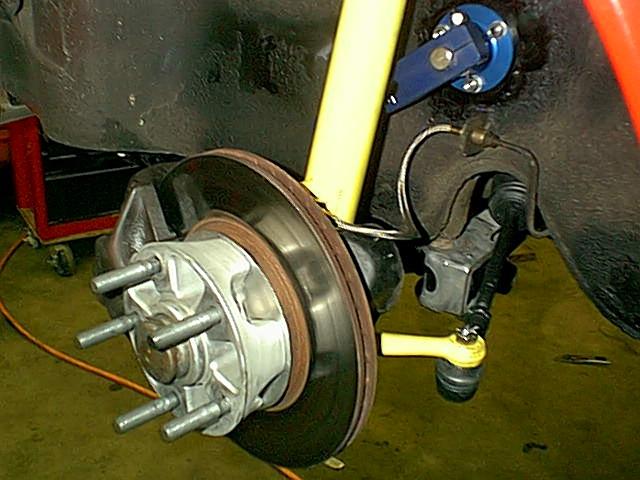
Completed front suspension with Cool Brake and stainless lines. While in there we ended up replacing all the hard lines on the brakes as they were in particularly nasty condition.
We also installed long studs so late offset wheels could be used with
19mm spacers. This allows for up to 245/40/17 tires up front.
We ususally run 235/40+275/40/17.
Note the turbo tie rod kit as well. THis was adjusted upward about 3/16" (as far as it can go until it contacts the body) to minimize bump steer as the car is lowered.
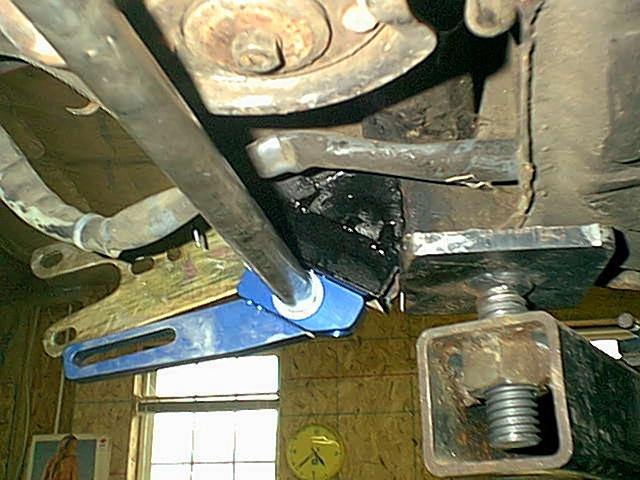
Here's a nice reference to a starting point to installing the
30mm rear torsion bars. About 1/4" gap between the adjuster is perfect
to give best adjustment range. This is with the shock absorber connected.
It's about 1/2" with the spring plate at full droop on the spring plate
stops. 30mm torsion bars are about 250% as stiff as the factory 24mm bars.
Now it's time for the alignment. I used the new hunter machine which makes things MUCH easier.
So I thought. The front comber adjustment plates were destroyed.
The allens were completely ruisted to the captive nuts.
When I finally got them to sping, the captive bolts sheared off
the camber plates. Out comes the die grinder. What a mess!
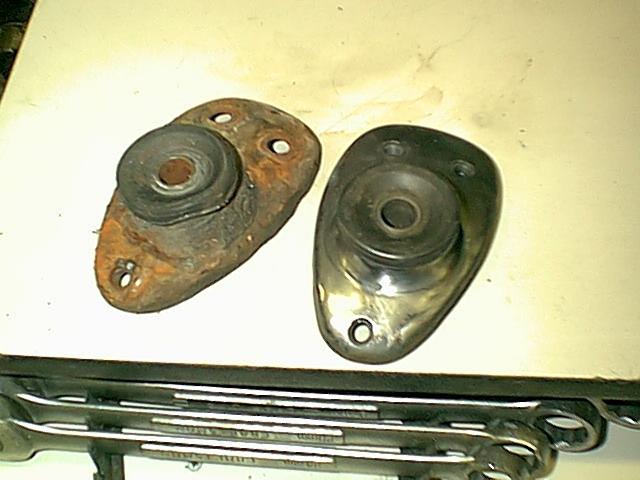
here is a replacement plate next to the nasty old one.
I blasted it down to pare metal, then painted it and installed it.
How to throw an hour in the trash can.
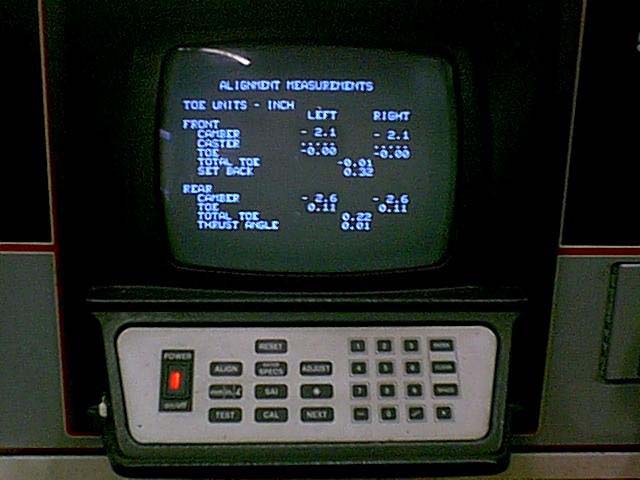
Here are the settings with noone in the car.
Weight was 2455 with about 38/62 weight split with no driver and no spare.
After the alignment was done corner weights were rechecked.
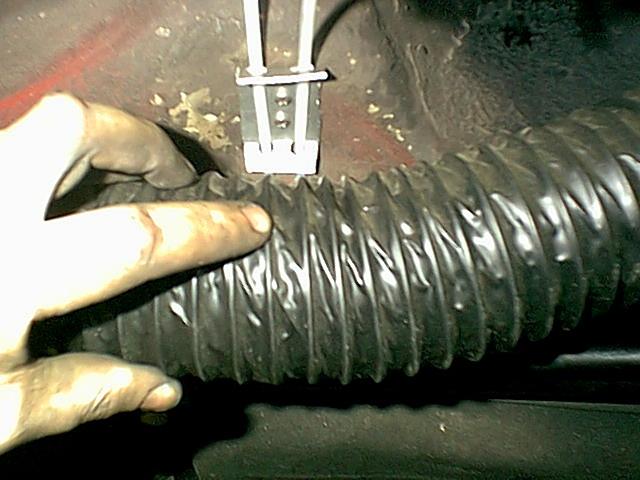
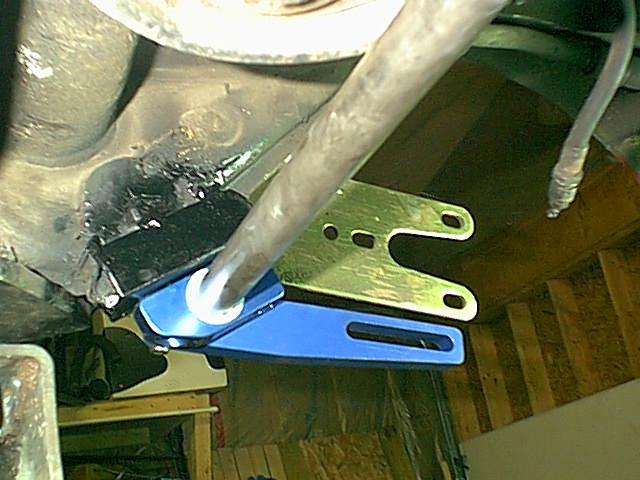
Here are som ebrackets I fabricated to run the brake ducts.
It gets pinchecd between the swqaybar drop link but this should not be a problem. No choice!
Here's a shot of the repaired tie down. Compare with the ripped shot above.
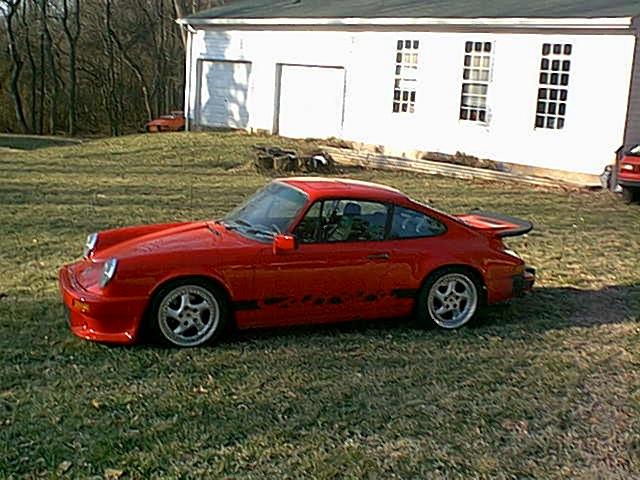
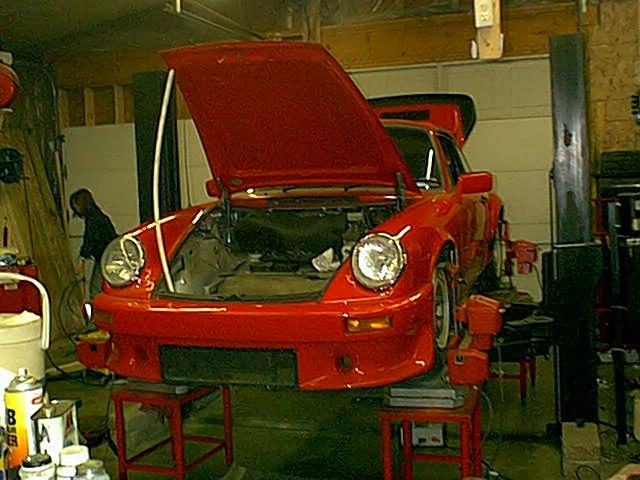
Now add some sticky tires (Bridgestone S02) on big 17" 3 peice wheels for final suspension tuning....

Just low enough.
These wheels are just loaners but they do look good on the car, and BOY do they stick.
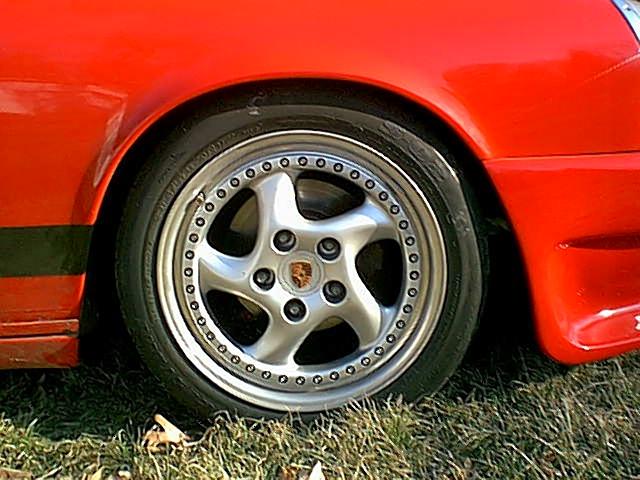
Big Surprize....he ended up keeping them!!!!
Here's what happened on the AutoCross course:
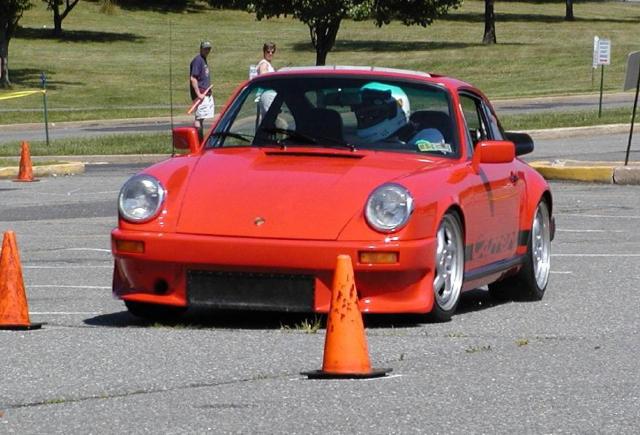
Uh, that would be flat... Note how much the Brdgestone S02s pull off the wheels...
Related Pages: