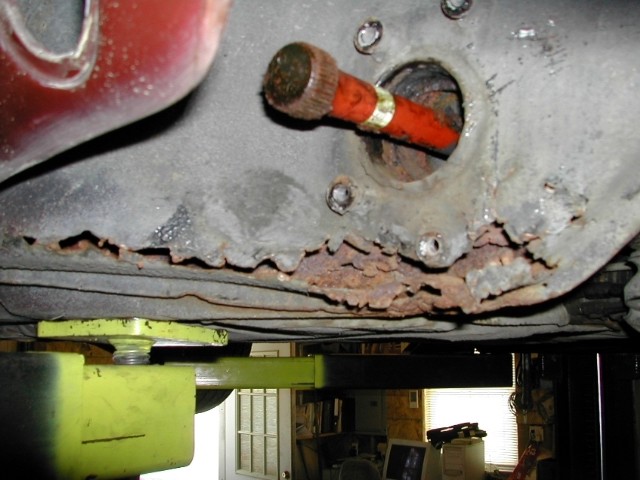
UGLY.
Not happy.
After some cleaning the back panel was a mess as well
 \
\
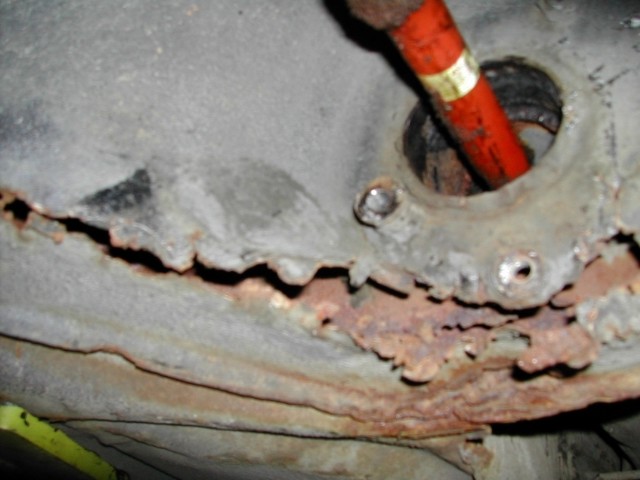
After cutting some material. Getting the spring
plate off was not fun.
C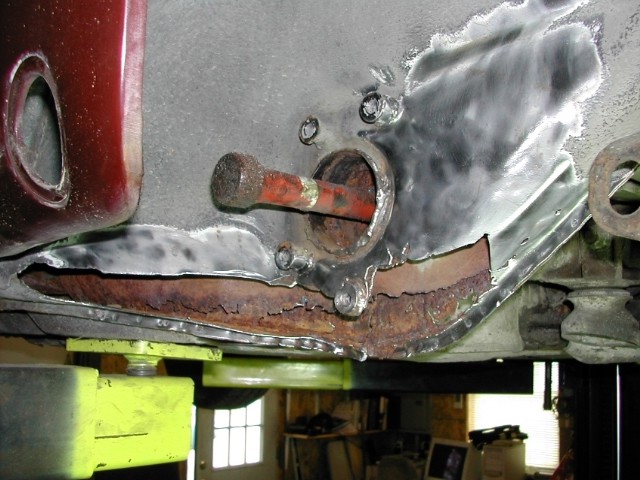
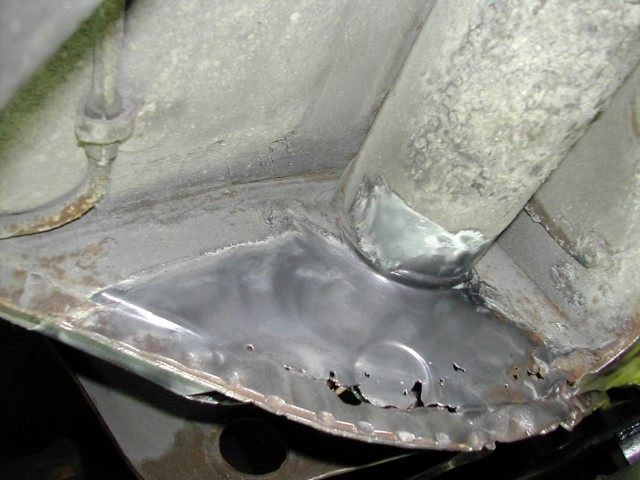
Cleaned it up, then rust proofed the inside cavity.
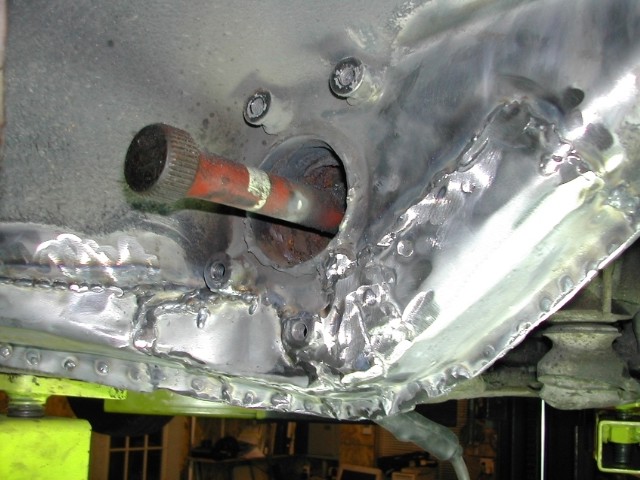
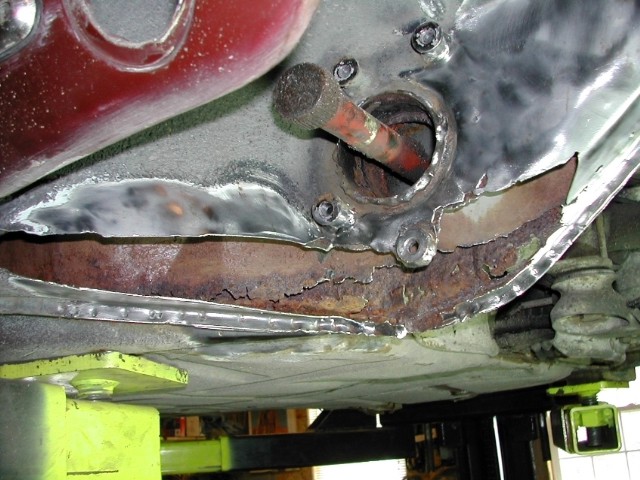
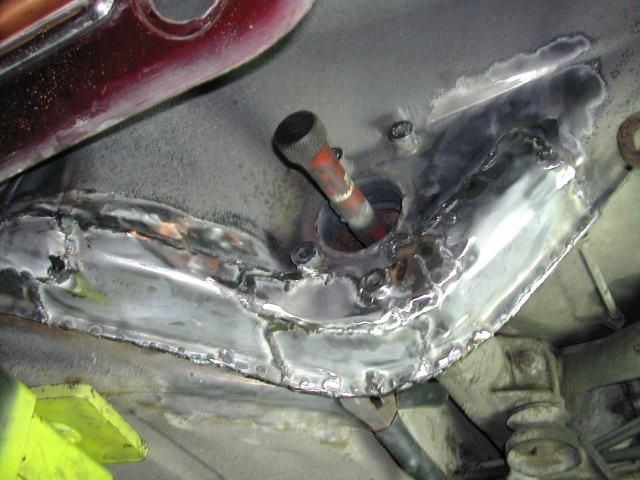
Now we fabbed in about 6 pieces to the outside and welded as well as welding bosses to the torsion tube for strength It's much smoother than it looks.
Another shot.
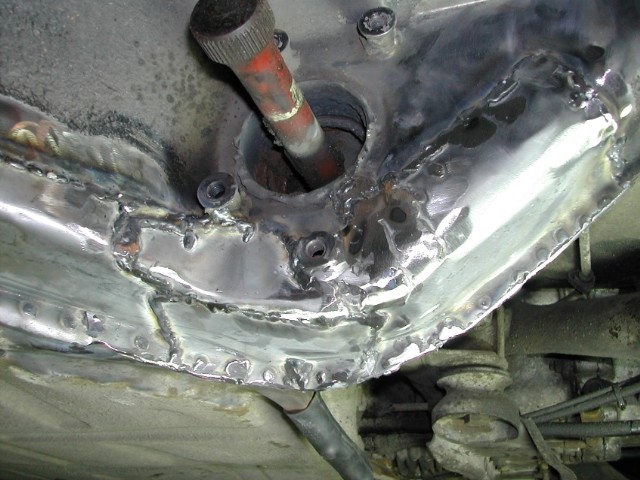
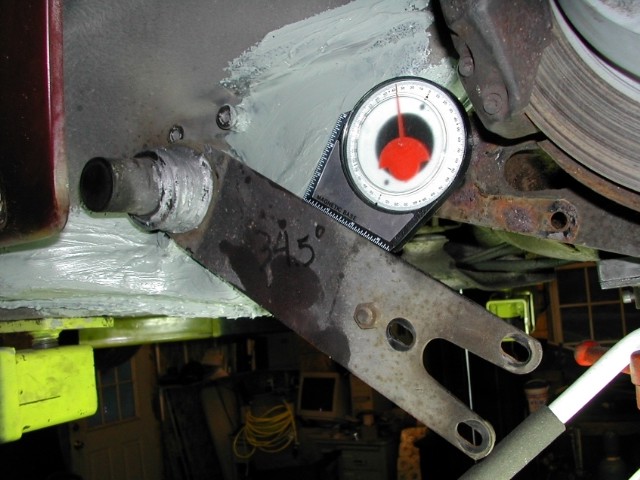
Repair to the rear was spot and seam welded and welded to the torsion tube. This is inside underneath.

Another view.
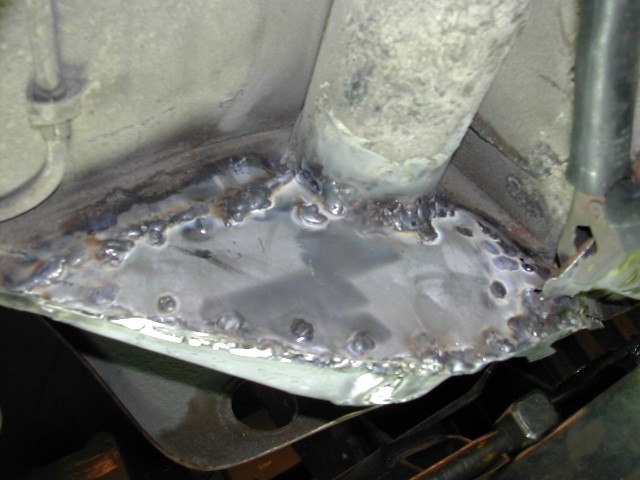
Here's the outside finished
After some 3M seam sealer is applied the spring plate is returned to it's original position.
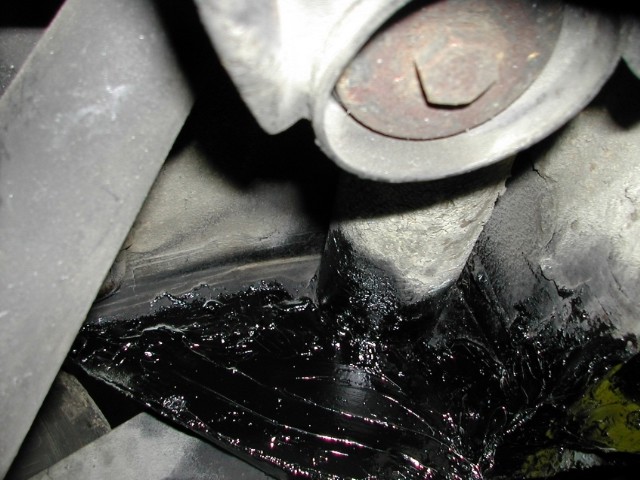
Everything is then painted after the seam sealer dries.
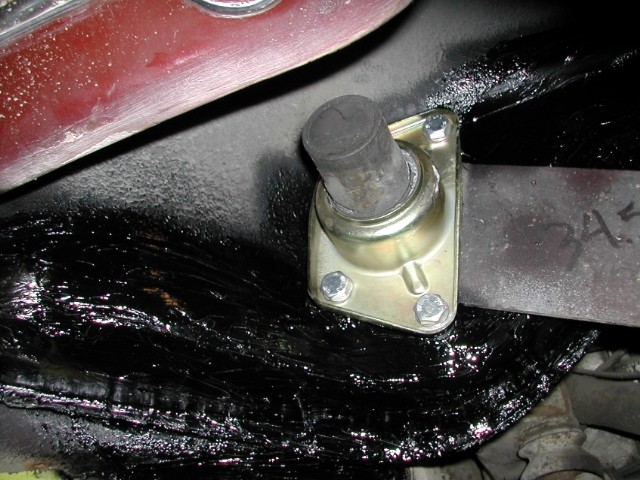
Lastly install a new spring plate bushing carrier. All
said about 8 hours. Not much fun but using 16 GA metal it isn't likely
to go anywhere.