
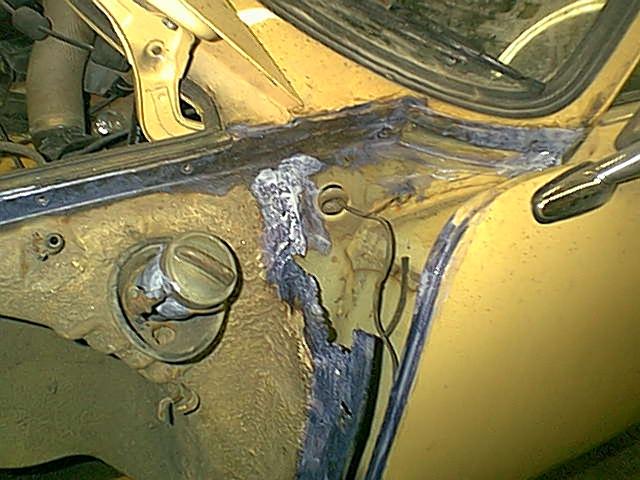
What looked like a few rust bubbles turned out to be a genuine nightmare. The closer you looked, the worse it got!
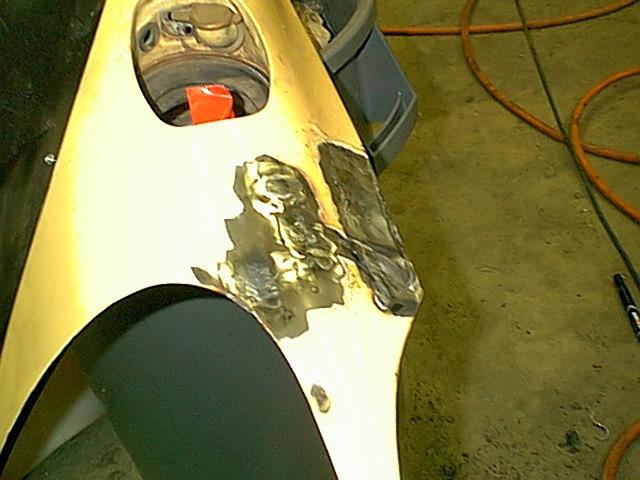
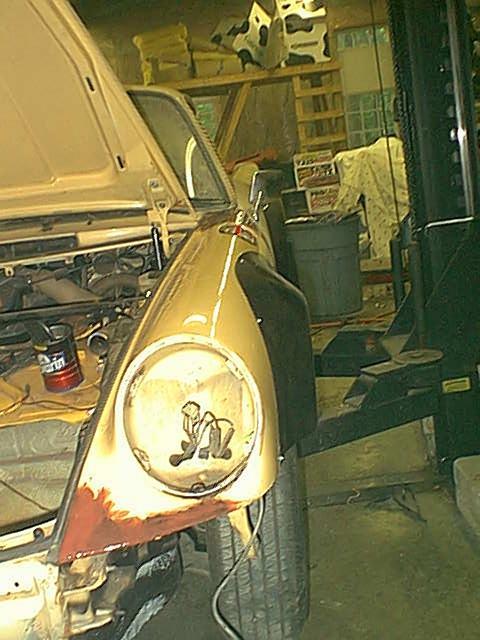
The Driver's Front Fender had a small rust bubble near the antenna mount.
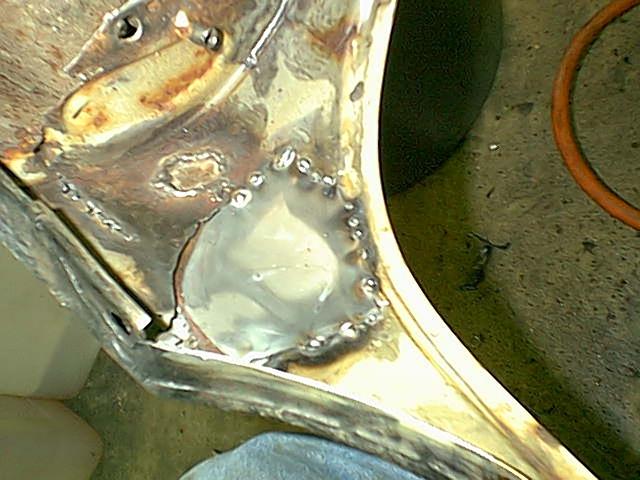
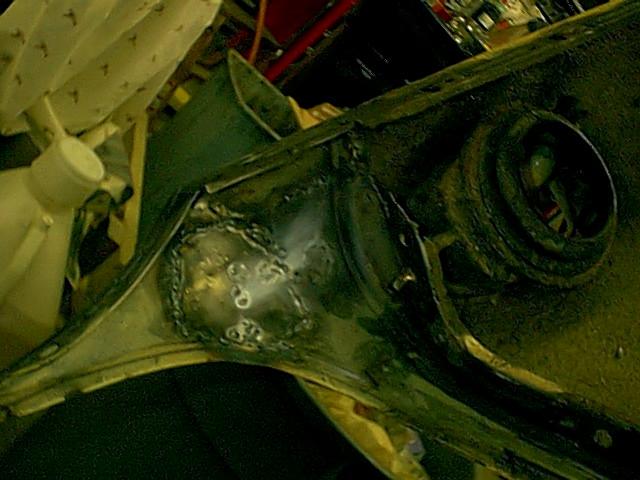
The small circle is the antenna hole, and the large area is all the
junk metal I cut out with a plasma cutter. This is
the underside so fit and finish are not critical.
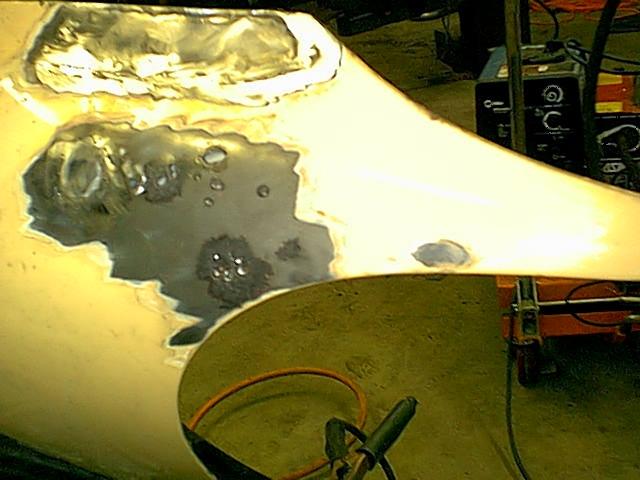
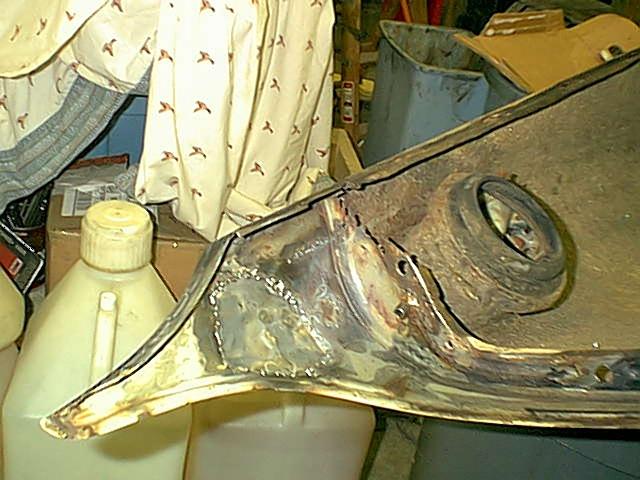
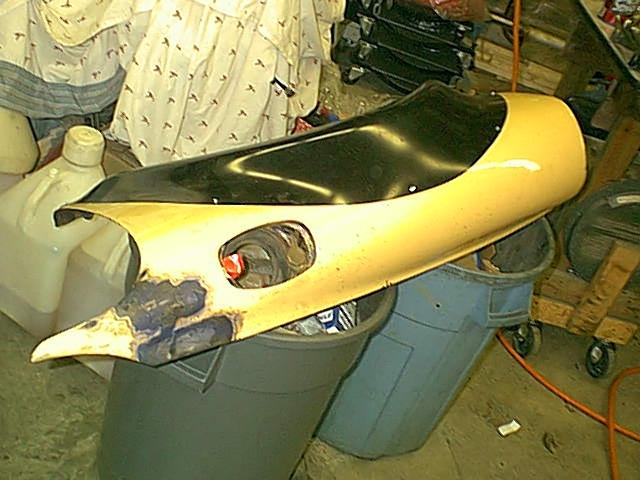
Here is the patchwork from the outside. You can see the large
area at the top, just through the outer skin of the fender, and the peforated
areas below which were patched from behind. This is my first stab
at mig bodywork and panel repair, so things are going slow with a lot of
tapping and grinding to straighten
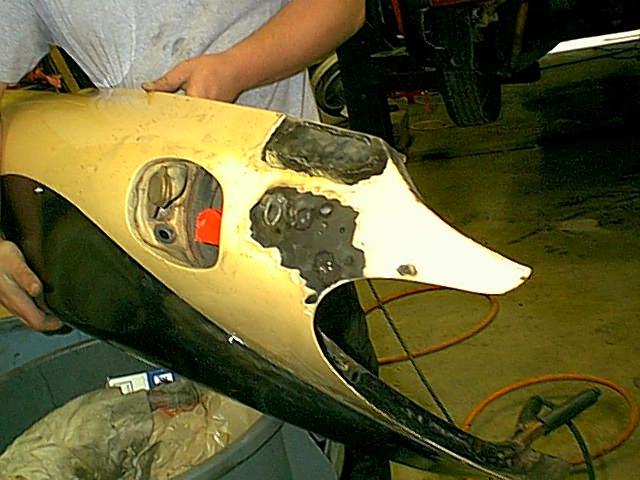
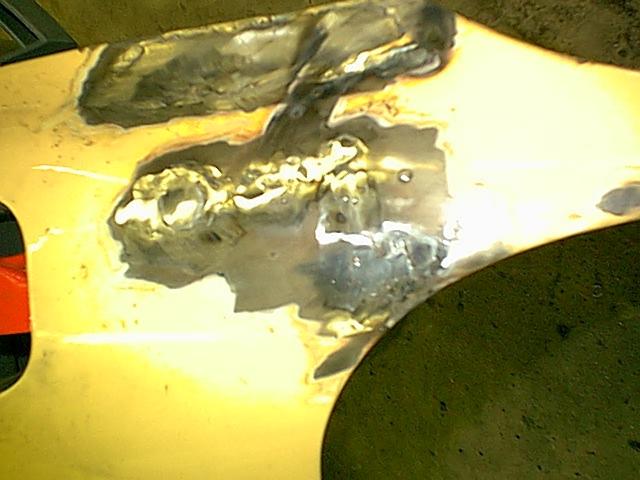
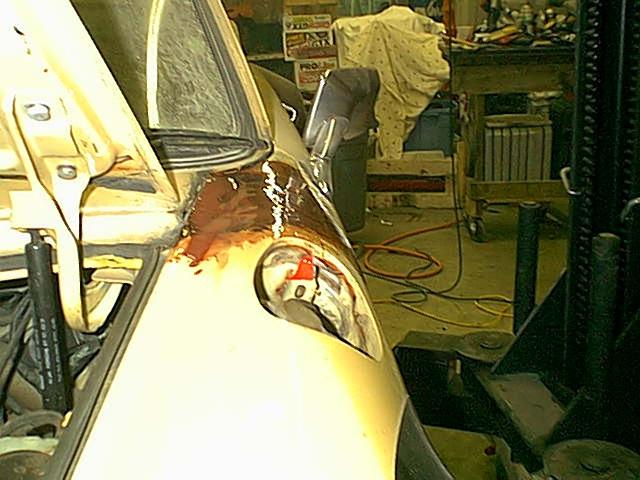
At first it looks a bit rough,
But with a makeshift dolly I flatten the area out.

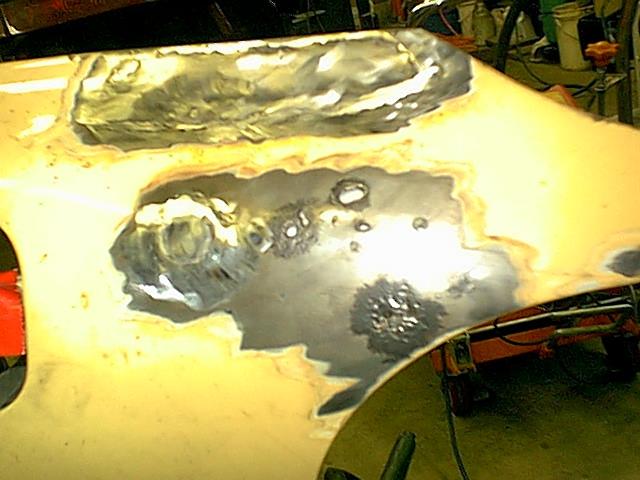
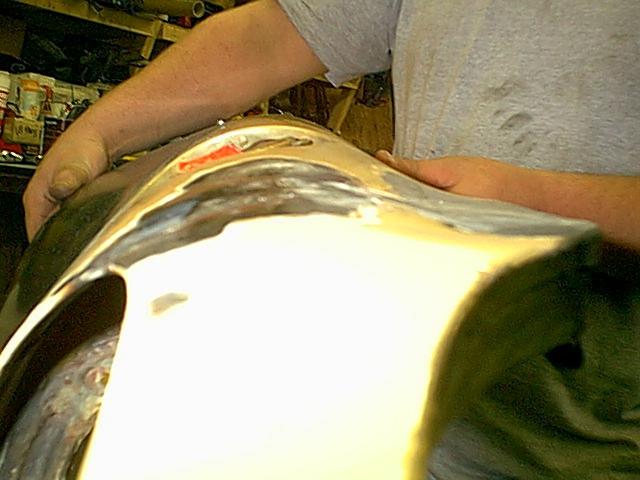
The underside is cleaning up
Here it's just about ready to be sealed up. We coated it with rust converter then a coat of primer and sealant.
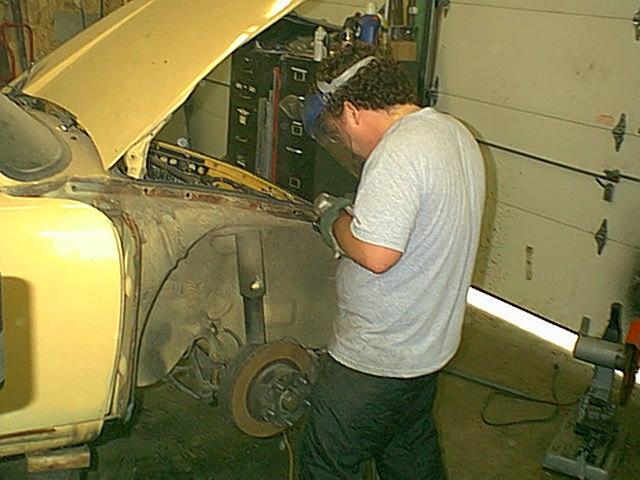
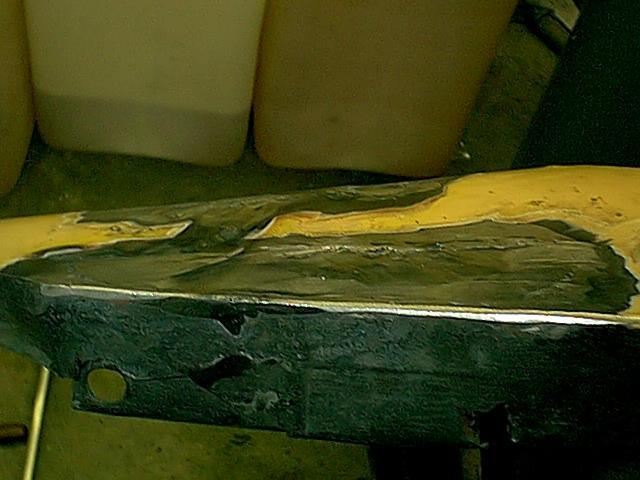
Here Darryl works the fender sealing surface, just cleaning it up and prepping for paint.
We had to do some fabrication work here, but we used Permatex Extend to stabilize the oxidation (stop rust)
We use only the finest professional body shop fixtures to secure
the fenders.
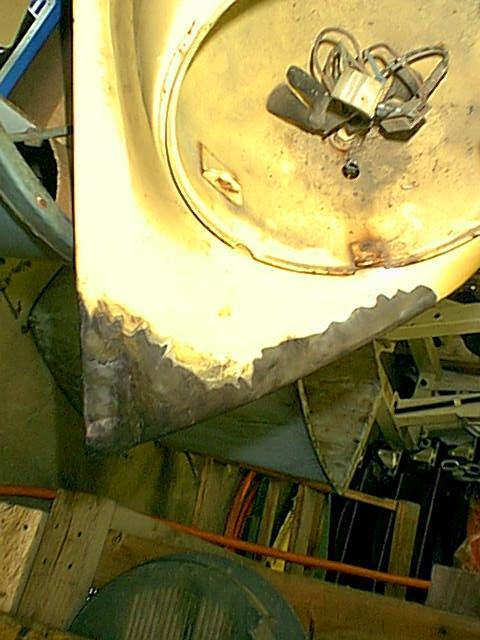
That us all new metal. The corner showed a little rust but we ended up cutting out a 1"x2" section which included the corner.
Was it worth it? Not even remotely. But I learned a lot. I could have gotten a fender for maybe $250, but this one has SOUL!
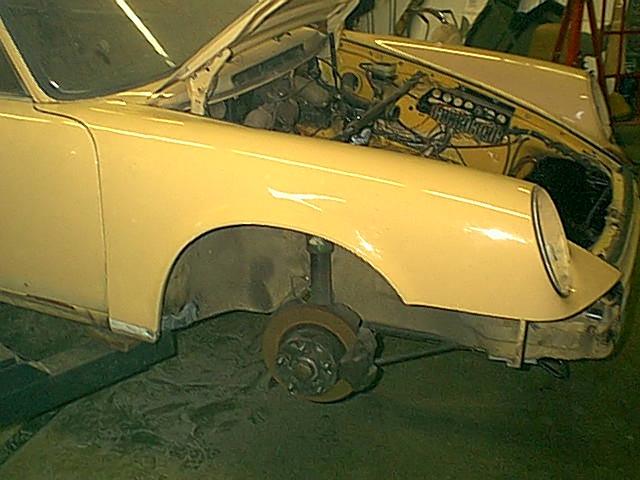
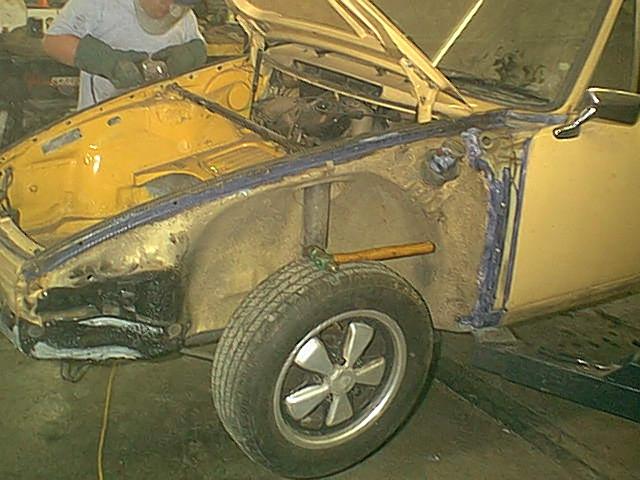
The passenger's fender had already been replaced. Very clean. Just need to hang the flare.
No Bondo here. This is epoxy boat resin with microspherical powder mixed in. OK. Just think of it as high tech Bondo!
This is much better than plastic filler because the resin is very
thin and will soak into the metal surface for excellent adhesion. No more
than 1/8" thick anywhere.
And that's it. A little sanding and it's ready!